
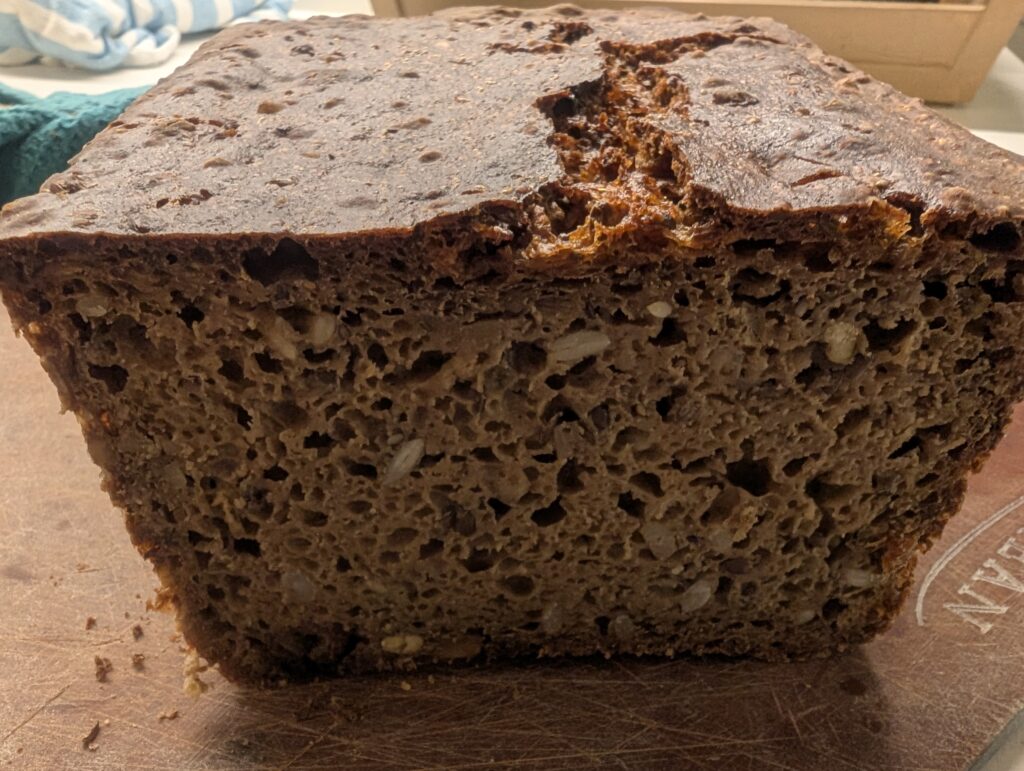
This is the loaf that took years to get right — and now it’s the one we bake every single week, or every 2 weeks, the recipe makes 2 x 1 kg loafs – we only have one slice each for lunch. Dense, dark, and deeply flavoured, it’s built on a rye sourdough base, packed with seeds and whole grains, and given all the time it needs to develop into something genuinely extraordinary. This is a more evolved, more flavourful big sibling of my previous rye bread loaf.
The recipe makes two loaves — because one is never enough and it keeps so well in the freezer so why not just do it once a fortnight.
It works if you start it in the morning and leave it to rise all day. In the evening add the seeds and put into tins and into the fridge, next morning do a short rise in the oven at 32 until the top is level with the top of the tin then bake. Easily done in one day.
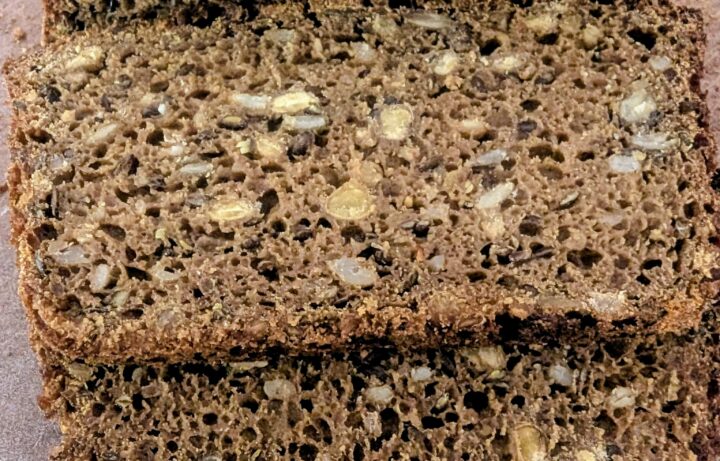
The Ultimate Seeded Rye & Grain Loaf
Yield: Two 22 x 13cm loaves (approximately 1.3kg per tin)
Before you begin: This recipe uses one other Food4Us staple in the ingredients. The One Jar That Does Everything – 8-Grain Power Mix is best cooked while your Phase 1 dough is doing its long bulk ferment — perfect timing.
Phase 1: The Build & Bulk Ferment
Ingredients
The starter mix:
- 200g rye sourdough starter (can be unfed/but must be still alive and potentially active). I generally wake up my starter the day before to bring it to 200g.
- 50g water or kefir
The mix ingredients:
- 200g stoneground rye flour
- 200g stoneground white flour
- 200g strong white bread flour
- 600g lukewarm water
- 40g blackstrap molasses
- 40g honey
- 10g salt
- 10g coffee and chicory
Phase 2: The Inclusions
I usually get all this together when doing phase 1 and just leave it in 2 separate containers in the fridge – it saves more fuss on the day, keep the seeds separate so they stay a bit crunchy.
Ingredients
- 400g pre-cooked 8-Grain Power Mix (freekeh, barley, millet, quinoa, lentils and more)
- 50g sunflower seeds
- 50g pepitas (pumpkin seeds)
- 100g linseeds (flaxseeds)
Phase 1 – the morning: Make the Dough
- Combine the 200g sourdough starter with the 50ml of additional kefir and stir to a watery consistency and set aside while the rest of the ingredients are combined.
- In a large bowl combine the rest of the Phase 1 ingredients; 200g rye flour, 200g stoneground flour, and 200g bakers flour flour, 600g water, 10g salt, 40g honey, 40g molasses, 10g coffee and chicory, and stir to combine. Now add the starter and stir the whole mix vigorously for 5 minutes until a heavy, sticky, wet paste forms.
- The Bowl Rest: Cover and leave at room temperature (around 22°C) for 8–10 hours. You’re looking for the dough to rise to the top of the bowl and develop a bubbly, aerated surface. Don’t let it go so long that it starts to sink back down — that’s your sign you’ve gone too far. If this is done in the morning then you get the mix into the pans by the afternoon.
- Now is the time to cook 200g of your 8-Grain Power Mix,- rinse before cooking – -so it will be cooled and ready well before you need it, and measure out the flax seeds, sunflower seeds and pumpkin seeds for phase 2 and set aside.
Phase 2 – the evening: Save some starter and add the seeds
- The Starter Save: Before you add anything else, remove approximately 50g (about 3 tablespoons) of the fermented Phase 1 dough and transfer it to a jar. Store it in the fridge — this becomes your starter for the next bake.
- Add all the seeds and cooled, cooked grains to the bowl. Stir well for 5 minutes until everything is evenly distributed.
- The Spoon Test: Stand a spoon upright in the mixture. It should hold for a few seconds before slowly toppling. If it flops immediately, the dough is too wet — add 50g extra flour and mix again and test again.
- Divide the dough equally between two well-oiled 22 x 13cm tins (use the scales to get approximately 1kg per tin). Smooth the tops flat with a wet metal spoon.
Phase 3: The Cold Retard & Final Rise
Method
- The Fridge: Cover both tins and place them in the fridge for 8–12 hours (overnight works perfectly). This slow cold rest develops the flavour and firms up the dough structure.
- The Morning Rise: Remove the tins from the fridge and leave them at room temperature (around 24°C) for 2–3 hours or proof in the oven (at 32°C) waiting for the dough to have tiny pin prick sized holes all over the surface and it has risen to just below the rim— that’s your green light.
Phase 4: The Bake
Method
- In a combi steam oven: Place the tins in a cold oven, set to bake – hot air with steaming at 200°C for 20 minutes. The initial steam injection will give the loaves a good oven spring. The top should dry out and start browning and the edges will come away from the tin.
- After 20 minutes change the oven to 180°C dry heat. Set a timer for 40 minutes.
- Standard oven alternative: Follow the instructions above but place a small roasting tray of boiling water on the bottom rack before loading the bread — this replicates the steam effect. Remove the water tray after 20 minutes and lower the temperature.
- After about 40 minutes of cooking add a temperature probe to one loaf – making sure it doesn’t touch the base – and set it to 93°C.
- When the probe reaches 93°C remove loaves from their tins and place the loaves upside down, directly on the oven rack to finish.
- Continue to bake until the internal temperature of each loaf reaches 96°C — approximately 75–80 minutes total. Be aware that extra time to chase a higher temperature will only toughen the crust and you may actually reach a stall where adding more heat and time has a negligible impact on the internal temperature.
- The Finish: Remove the loaves from the oven. Wrap each one tightly in a damp tea towel. A layer of foil around the outside can help the seasoning but that is only necessary if the air is super dry.
- The Cure: Leave wrapped for a full 24 hours before slicing. This is not optional — the starch needs time to fully set and the crust needs time to soften. It’s worth every minute of the wait.
- Slice and store: In my house things go off before being eaten so I slice the rested loaf into thin slices and store them in a perfectly suited airtight container in the freezer. An electric knife helps with the slicing.
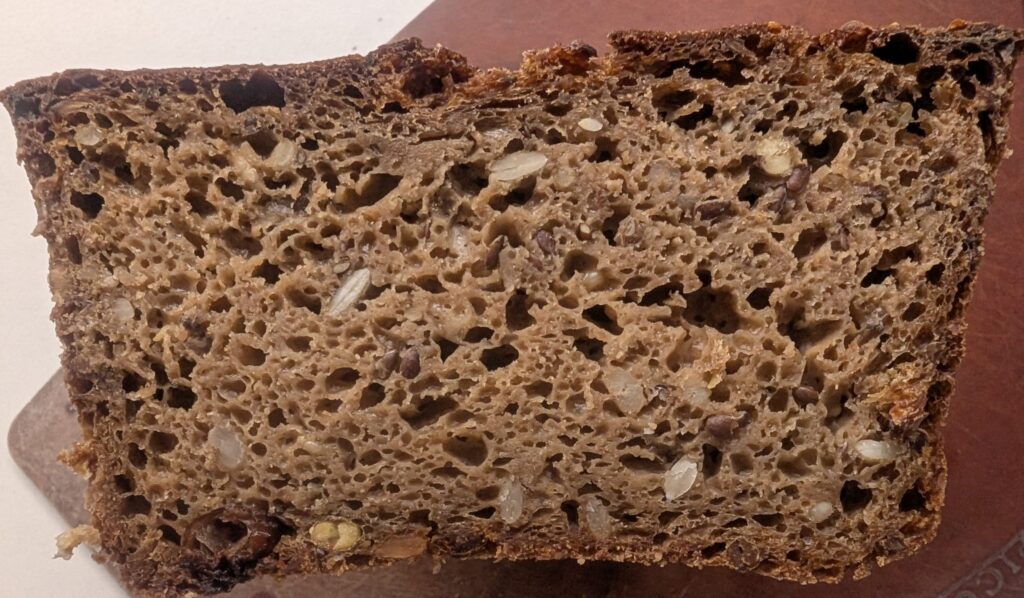
Notes
Toasting slices: Frozen slices toast beautifully in an air fryer at 180°C for 6 minutes. Genuinely better than fresh.
Making kefir: This starter relies on kefir. If you’re not already making your own, it’s easier than you think — we’ll have a full how-to guide on the site soon, however milk or yoghurt will substitute.
Storage: Once cooled slice thinly and store in the freezer, store slices you intend to eat in the next few days in a plastic airtight container at room temperature for up to 4 days. This freezes exceptionally well — slice before freezing for easy grab-and-toast portions.