 I have been looking for a simple focaccia recipe that uses sourdough, so it makes it pretty healthy. Everything I was finding involved kneading or stretch and folds and lots of intervention. I am in this for the outcome, not the process, so something with minimal effort but a pretty good outcome is my aim. We don’t eat any white bread, or in fact barely any bread at all so this is just for those family or friends for dinner nights where I need something pretty spectacular, yet easy, to put on the table. Once the starter is ready it doesn’t take long to get the dough into the pan. I get the dough into a pan and put it in the fridge to rise slowly if cooking after a four hour rest is inconvenient. When it is time to bake, I take it out of the fridge and let it come to room temperature and grow a bit more.
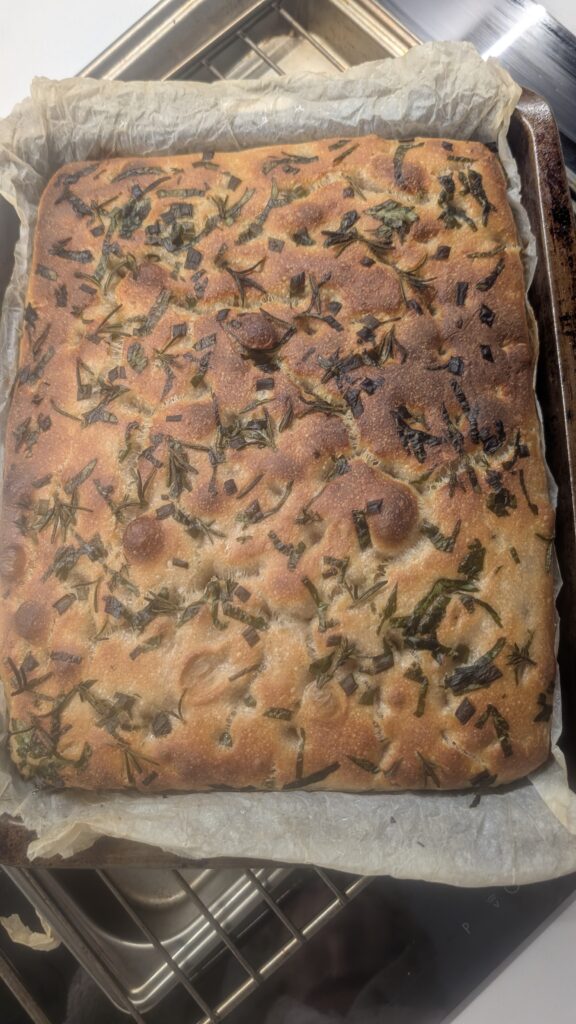
NO FUSS SOURDOUGH FOCACCIA
Take your starter, weigh it and find the difference between its weight and 180g. Divide that number in half and add that weight in rye flour and the same in kefir. Stir it all up well, scrape down the sides, cover with a loose-fitting lid and mark the top of the mix with a rubber band. When it has doubled or even tripled it is time to start this process. If the kitchen is cold I put it in the oven at 27°C (professional baking – proofing setting on my V-Zug combi oven)
Ingredients
- Starter build – mix together and leave in a warm place until doubled and active
- 100g Rye Starter
- 100g Organic Stone Ground White Bakers Flour
- 100g Kefir (to wake it up)
- All of the Starter Build (from above)
- 300g Organic Stone Ground White Bakers Flour
- 200g Triple Zero (00) Pizza Flour
- 20g Extra Virgin olive oil
- 10g salt
- 380g warm water – aim for 40°C
- 150g starter – you will need to build the starter to this volume in advance.
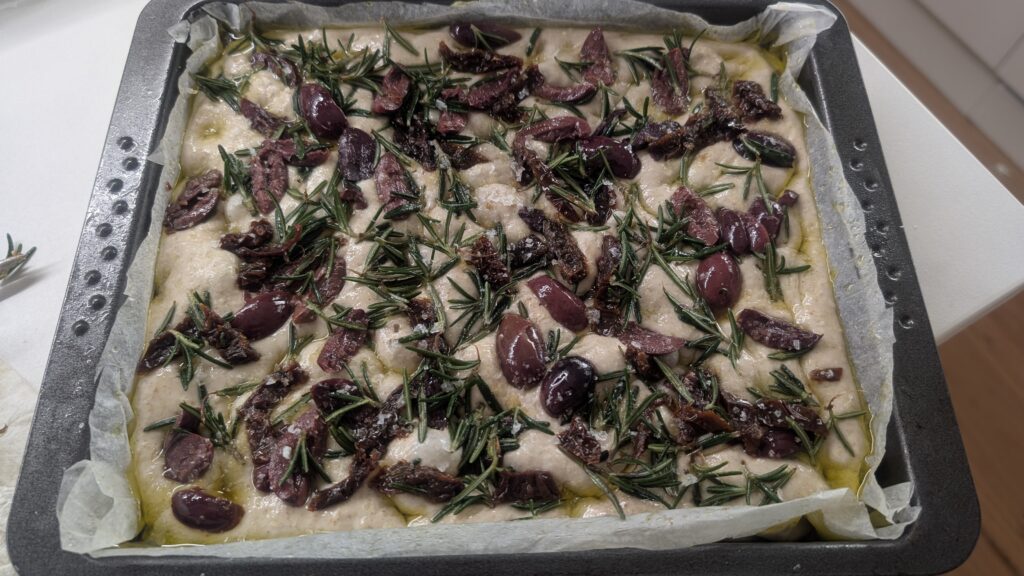
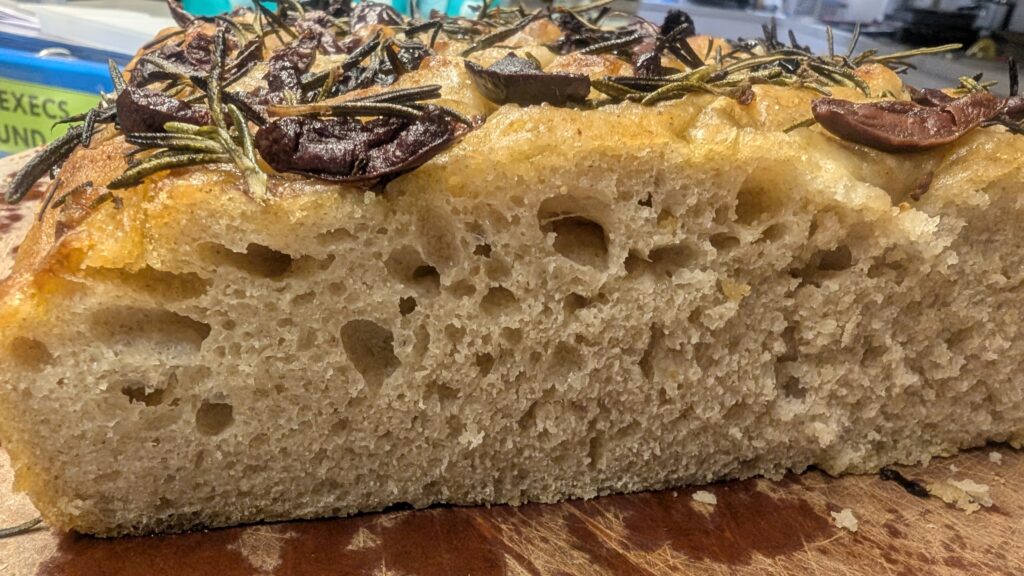
- Topping: * Flaky sea salt, rosemary, and another heavy drizzle of olive oil
Method
- Mix your rye starter, 100g stone-ground flour, and kefir in a jar or small bowl. Leave it on the counter until it is bubbly, active, and has doubled in size. (Because of the kefir and rye, this usually happens faster than a water-based build!)
- Put the mixer bowl on scale and add the 300g lukewarm water and add the bubbly starter build. Whisk slightly to break it up.
- Add the 300g Stone Ground and 200g 00 Pizza/bread flour, the10g salt, and the 20g of olive oil.
- Put the paddle blade in the mixer and mix till the ingredients are incorporated.
- Leave to rest for 30 minutes.
- Now change to the dough hook and mix on Speed 2 for 5–7 minutes. The dough should be glossy and very sticky but is starting to make a flapping sound against the edges of the bowl —don’t worry if it doesn’t pull away completely from the sides; focaccia loves high moisture.
- Scrape down the sides and cover the dough with plastic wrap and let it rest in a warm place or until it has doubled in size and looks smooth.
-
Prepare the Tray: Pour a generous amount of olive oil into a 9×13 inch baking tray.
-
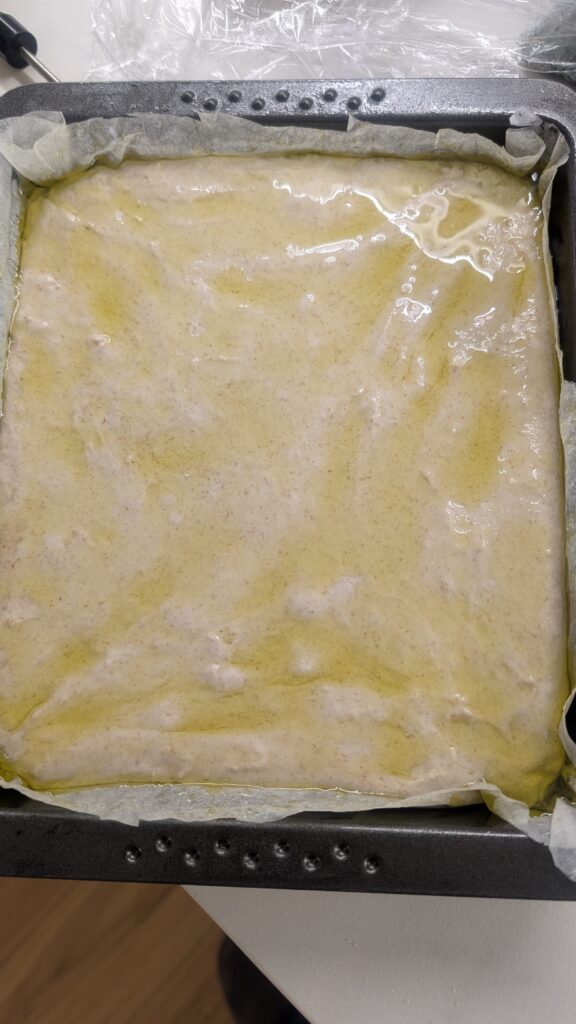
Transfer: Tip the dough straight from the mixer into the well oiled tray. Flip the dough over once so it is completely coated in oil (this prevents it from drying out).
-
The Fridge: Cover the oiled dough tightly with plastic wrap. Place the tray in the fridge overnight (or up to 24 hours).
-
The Wake-Up: 4–5 hours before you want to eat, take the tray out of the fridge. Leave it on the counter or in a warm place, still covered.
-
The Rise: Let the dough warm up and naturally spread to the corners of the tray. It is ready when it looks puffy, jiggly, and has visible bubbles on the surface.
-
Dimple: Do the poke test, if good drizzle more olive oil on top. Use your fingers to spread the dough to the edges and poke deep holes all the way to the bottom of the pan. The oil will sit in these dimples.
-
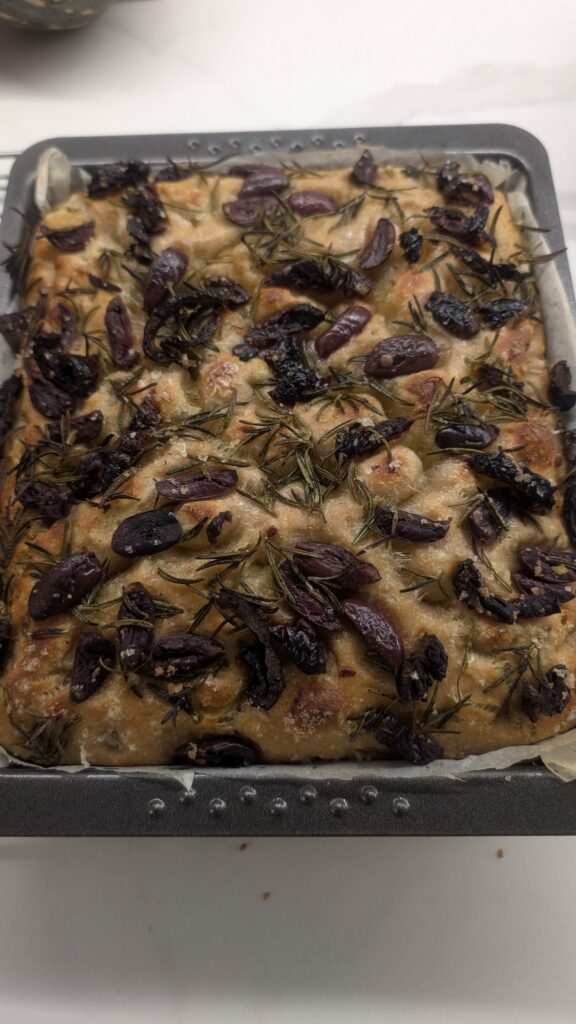
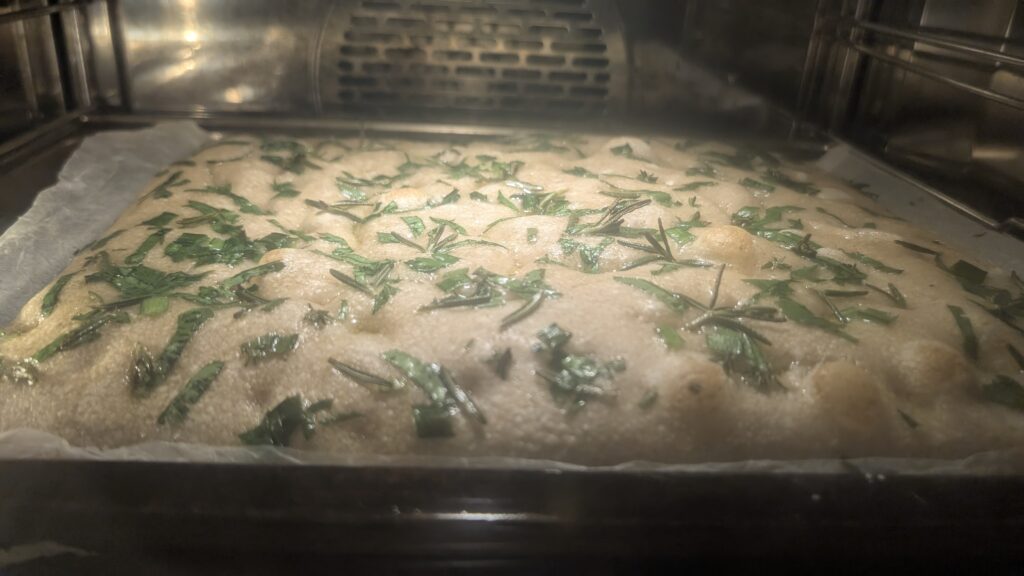
Bake: Sprinkle with salt flakes or sprinkle with 1tsp salt dissolved in 1/4 cup warm water and add toppings (rosemary is always good – it is a good idea to add oil to any toppings to stop burning to a crisp). Bake at 220°C (430°F) for 20–25 minutes until the top is golden brown and the bottom is crisp. – on the V-Zug combi oven use the professional baking – Flour dusted setting.
- To Bake in an ordinary oven: Turn the oven to 240°C , put a separate baking dish or pan in the bottom shelf of the oven to add water to when the dough goes in. Allow the oven to really come to a steady temperature then cook for 25 minutes
- Remove from the oven and allow to cool on a rack.
- Serve hot and crispy from the oven or slice and toast.
NOTES:
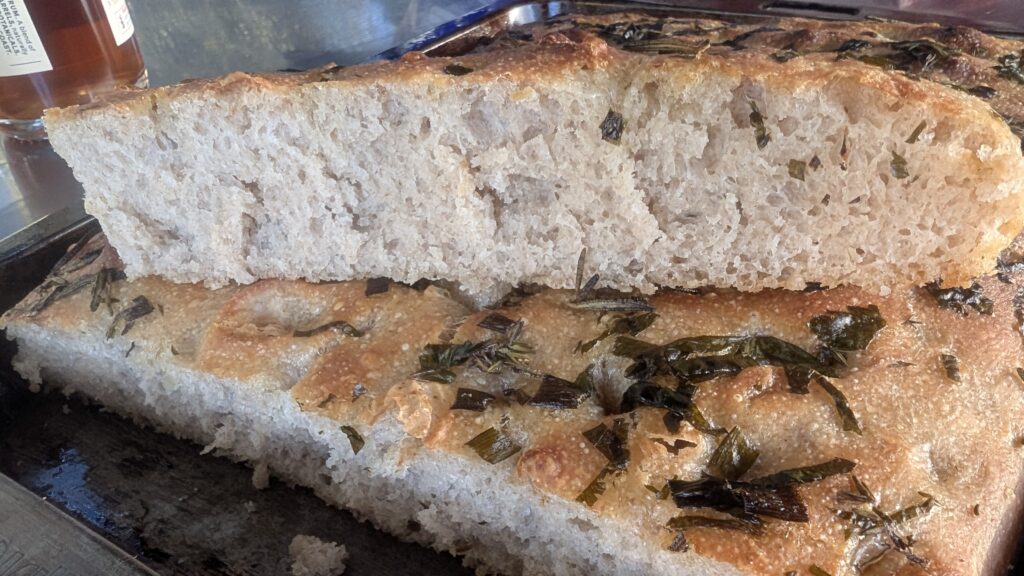
This can be made as thin or thick as you want. I have used a 22 x 25cm pan and this gives a fairly thick focaccia but for something thinner just use a larger pan.
My preference now is for a 30 x 25cm pan. Well risen this gives focaccia that 3-4 cm thick.
The Poke Test
Purpose: To assess the amount of gas produced by the yeast/starter and the elasticity (or relaxation) of the gluten structure, indicating if the dough is underproofed, perfectly proofed, or overproofed.
* Lightly Flour Your Finger: Dip one of your fingers (usually your index finger) into a small bowl of flour. This prevents your finger from sticking to the sticky, oiled dough.
* Locate a Spot: Choose a spot on the focaccia dough that hasn’t been heavily dimpled or covered with a large herb. A relatively flat, unadorned area is best.
* Gently Press: Gently but firmly press your floured finger into the dough. Aim for an indentation depth of about 1-2 cm (0.5 to 0.75 inches). Do not press too hard or aggressively, as this can deflate the dough.
Perfectly Proofed (Ready to Bake!):
Appearance: The dough looks visibly puffed up, airy, and bubbly, especially on the surface. The dimples may have started to relax or slightly fill in, but they’re still present.
Poke Test Reaction: The indentation springs back slowly and partially, leaving a slight, shallow dent that slowly reduces but doesn’t disappear completely. The dough feels soft, pillowy, and almost bouncy to the touch, full of air but still with some structural integrity.
Meaning: This is the ideal stage! The dough has produced a good amount of gas, and the gluten has relaxed enough to allow for maximum expansion in the hot oven (oven spring). It’s still strong enough to hold its structure.
V-Zug combi oven settings:
Use the “Flour Dusted” setting:
* High Initial Heat for Oven Spring: Focaccia thrives on high heat. Putting it into a preheated oven ensures a rapid expansion (oven spring), creating that characteristic airy, open crumb and bubbly texture.
* Proper Crust Development: The immediate high heat helps to rapidly set the crust, contributing to the desired crispness on the outside while keeping the interior soft. The steam injected by the oven (which the “Flour Dusted” setting uses at the beginning) will further enhance crust development, making it thin and crispy
* Set the temperature to 220-240°C (425-465°F).
* Allow the oven to fully preheat. Your V-ZUG will signal when it’s reached temperature.